Setting Up Restricted Fields
The Restricted Fields tab gives you fine-grained control over data security in ILLiad. Here you can specify which database fields should be hidden from certain staff profiles, ensuring sensitive information stays protected while still allowing staff to do their jobs effectively.
Understanding Field Restrictions
Field restrictions work at the database level, completely hiding specified fields from staff members with certain profiles. This is different from the Layouts tab, which controls form appearance - restricted fields won't appear anywhere in the system for affected users, including in search results, reports, or data exports.
Think of this feature as your data security layer. While layouts control convenience and workflow, restricted fields protect privacy and prevent unauthorized access to sensitive information.
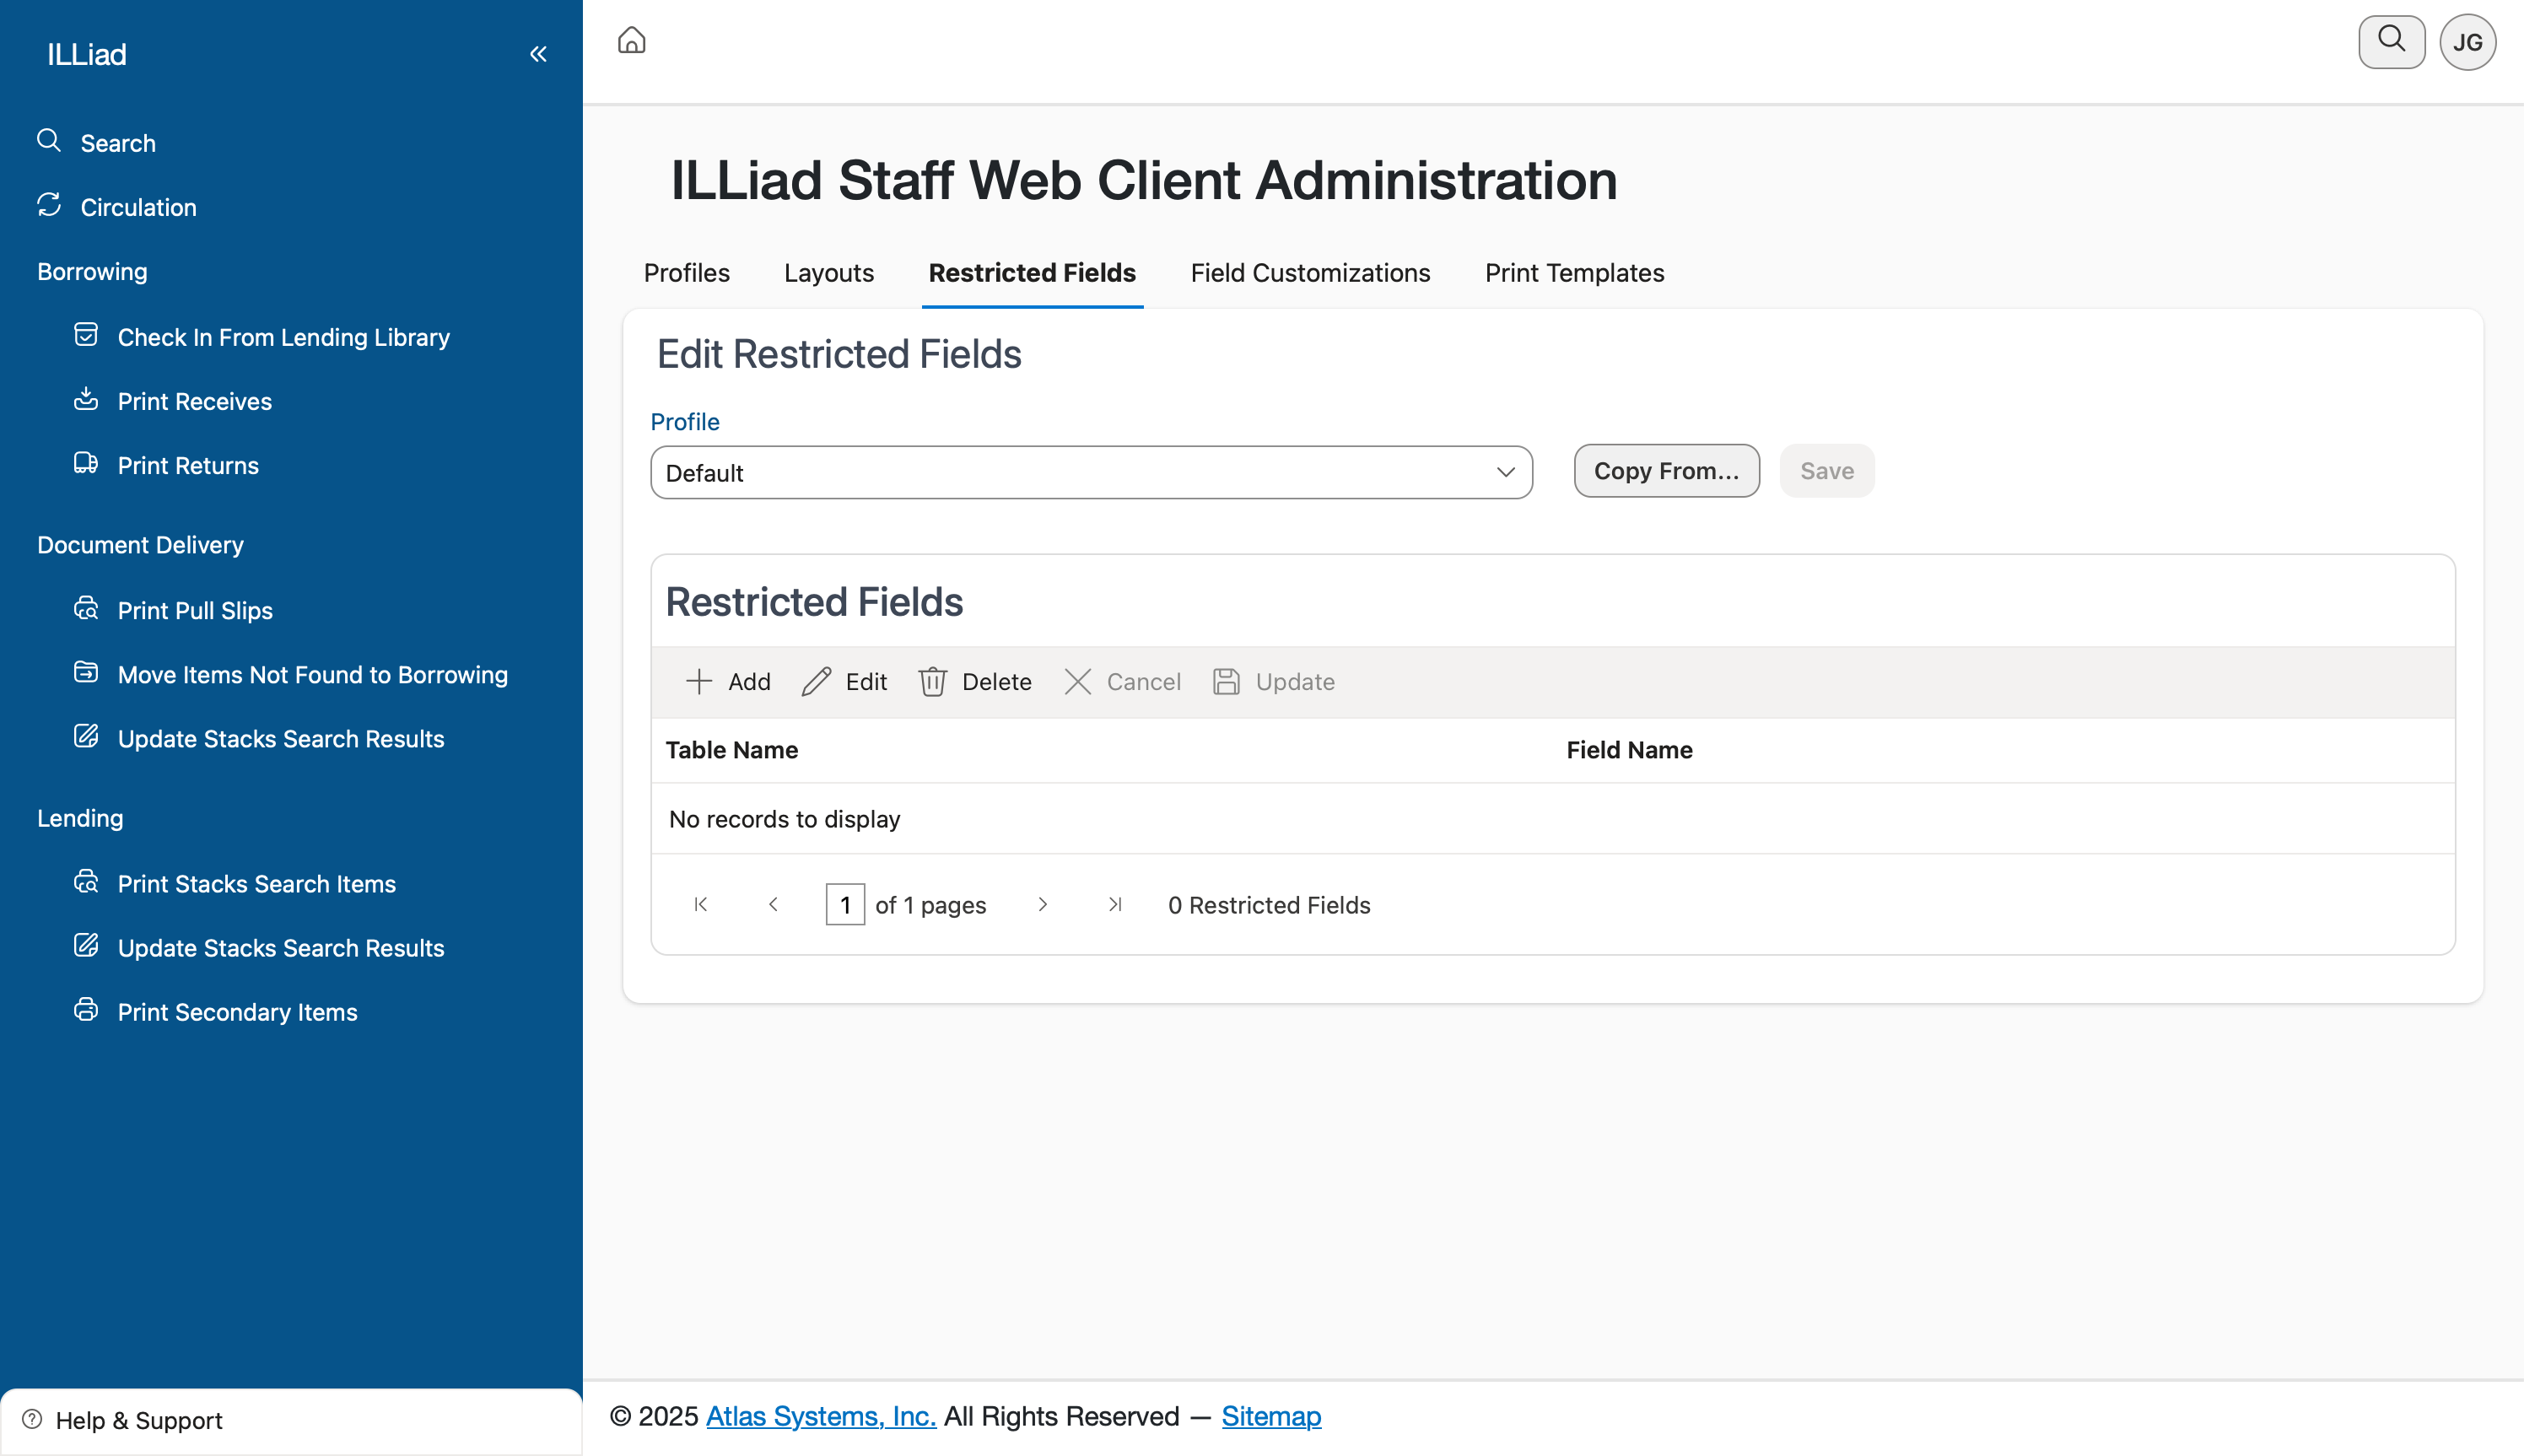
Getting Started with Restrictions
When you first open the Restricted Fields tab, select the profile you want to configure from the dropdown menu. Each profile can have its own set of restricted fields, giving you flexibility in managing different access levels across your organization.
The main grid shows any existing restrictions for the selected profile. When you're first setting this up, you'll likely see "No records to display" - that's normal and means no fields are currently restricted for that profile.
Adding Field Restrictions
To restrict a field, click the Add button in the toolbar. This opens a dialog where you'll specify:
Table Name - Select the database table containing the field you want to restrict. Common tables include:
- Users (patron information)
- Transactions (request details)
- Tracking (processing history)
- Billing (financial information)
Field Name - Choose the specific field within that table to restrict. The system shows you all available fields for the selected table, making it easy to find what you need.
Be thoughtful about which fields to restrict. Consider both security needs and operational requirements. For example, you might restrict patron phone numbers from student workers but allow supervisors to see them for problem resolution.
Managing Existing Restrictions
The grid displays all active restrictions for the selected profile, showing both the table and field names. This makes it easy to review what's currently restricted and ensure your security settings align with your policies.
To modify restrictions, use the toolbar buttons:
- Edit lets you change which field is restricted
- Delete removes a restriction, making that field visible again
- Update saves any changes you've made
You can also use the Copy From button to duplicate restrictions from another profile. This is incredibly helpful when setting up similar profiles - configure one thoroughly, then copy and adjust as needed.
Common Use Cases
Protecting Patron Privacy: Restrict fields like SSN, birth date, or home address from profiles used by student workers or part-time staff. These staff members can still process requests without seeing sensitive personal information.
Financial Security: Limit access to billing information, credit card details, or payment history to staff members who specifically handle financial transactions. This reduces the risk of unauthorized access to financial data.
Medical Information: If your system tracks any health-related information for ADA accommodations or special services, restrict these fields to only supervisors or designated accessibility coordinators.
Internal Notes: Some libraries use note fields for sensitive internal communications. Restrict these from public-facing staff while keeping them available for behind-the-scenes processing.
Planning Your Restrictions
Before implementing restrictions, map out your different staff roles and what information each truly needs. It's helpful to create a matrix showing:
- Which roles exist in your library
- What tasks each role performs
- What data each task requires
This planning prevents over-restriction that could hinder work while ensuring adequate protection for sensitive information.
Testing and Validation
After setting up restrictions, test them thoroughly. Log in as a user with the restricted profile and verify:
- Restricted fields don't appear in forms
- Search results don't display restricted data
- Reports exclude restricted information
- No error messages appear when accessing areas that reference restricted fields
The system handles restricted fields gracefully - users simply won't see them rather than encountering errors or blank spaces.
Impact on Workflows
Remember that restricting fields affects more than just viewing data. Users with restricted profiles also can't:
- Search by restricted fields
- Sort or filter by restricted fields
- Include restricted fields in reports
- Edit restricted field data (even if they can't see current values)
Make sure your restrictions don't inadvertently prevent staff from completing necessary tasks. If someone needs to search by patron phone number occasionally, they'll need access to that field.
Maintenance and Updates
Review your restricted field settings periodically, especially when:
- Adding new staff roles or reorganizing responsibilities
- Implementing new workflows or procedures
- Responding to privacy policy changes
- After security audits or incidents
Document your restriction decisions and the reasoning behind them. This helps future administrators understand why certain fields are restricted and makes it easier to adjust settings as needs change.
The Restricted Fields feature is a powerful tool for maintaining data security while keeping your ILL operation running smoothly. Used thoughtfully, it provides peace of mind that sensitive information is protected without creating unnecessary barriers for your staff.