Managing Staff Profiles
The Profiles tab in ILLiad's Staff Web Client Administration is where you'll set up and manage different user profiles for your staff members. Think of profiles as templates that control what each staff member can see and do within the system.
Understanding Profiles
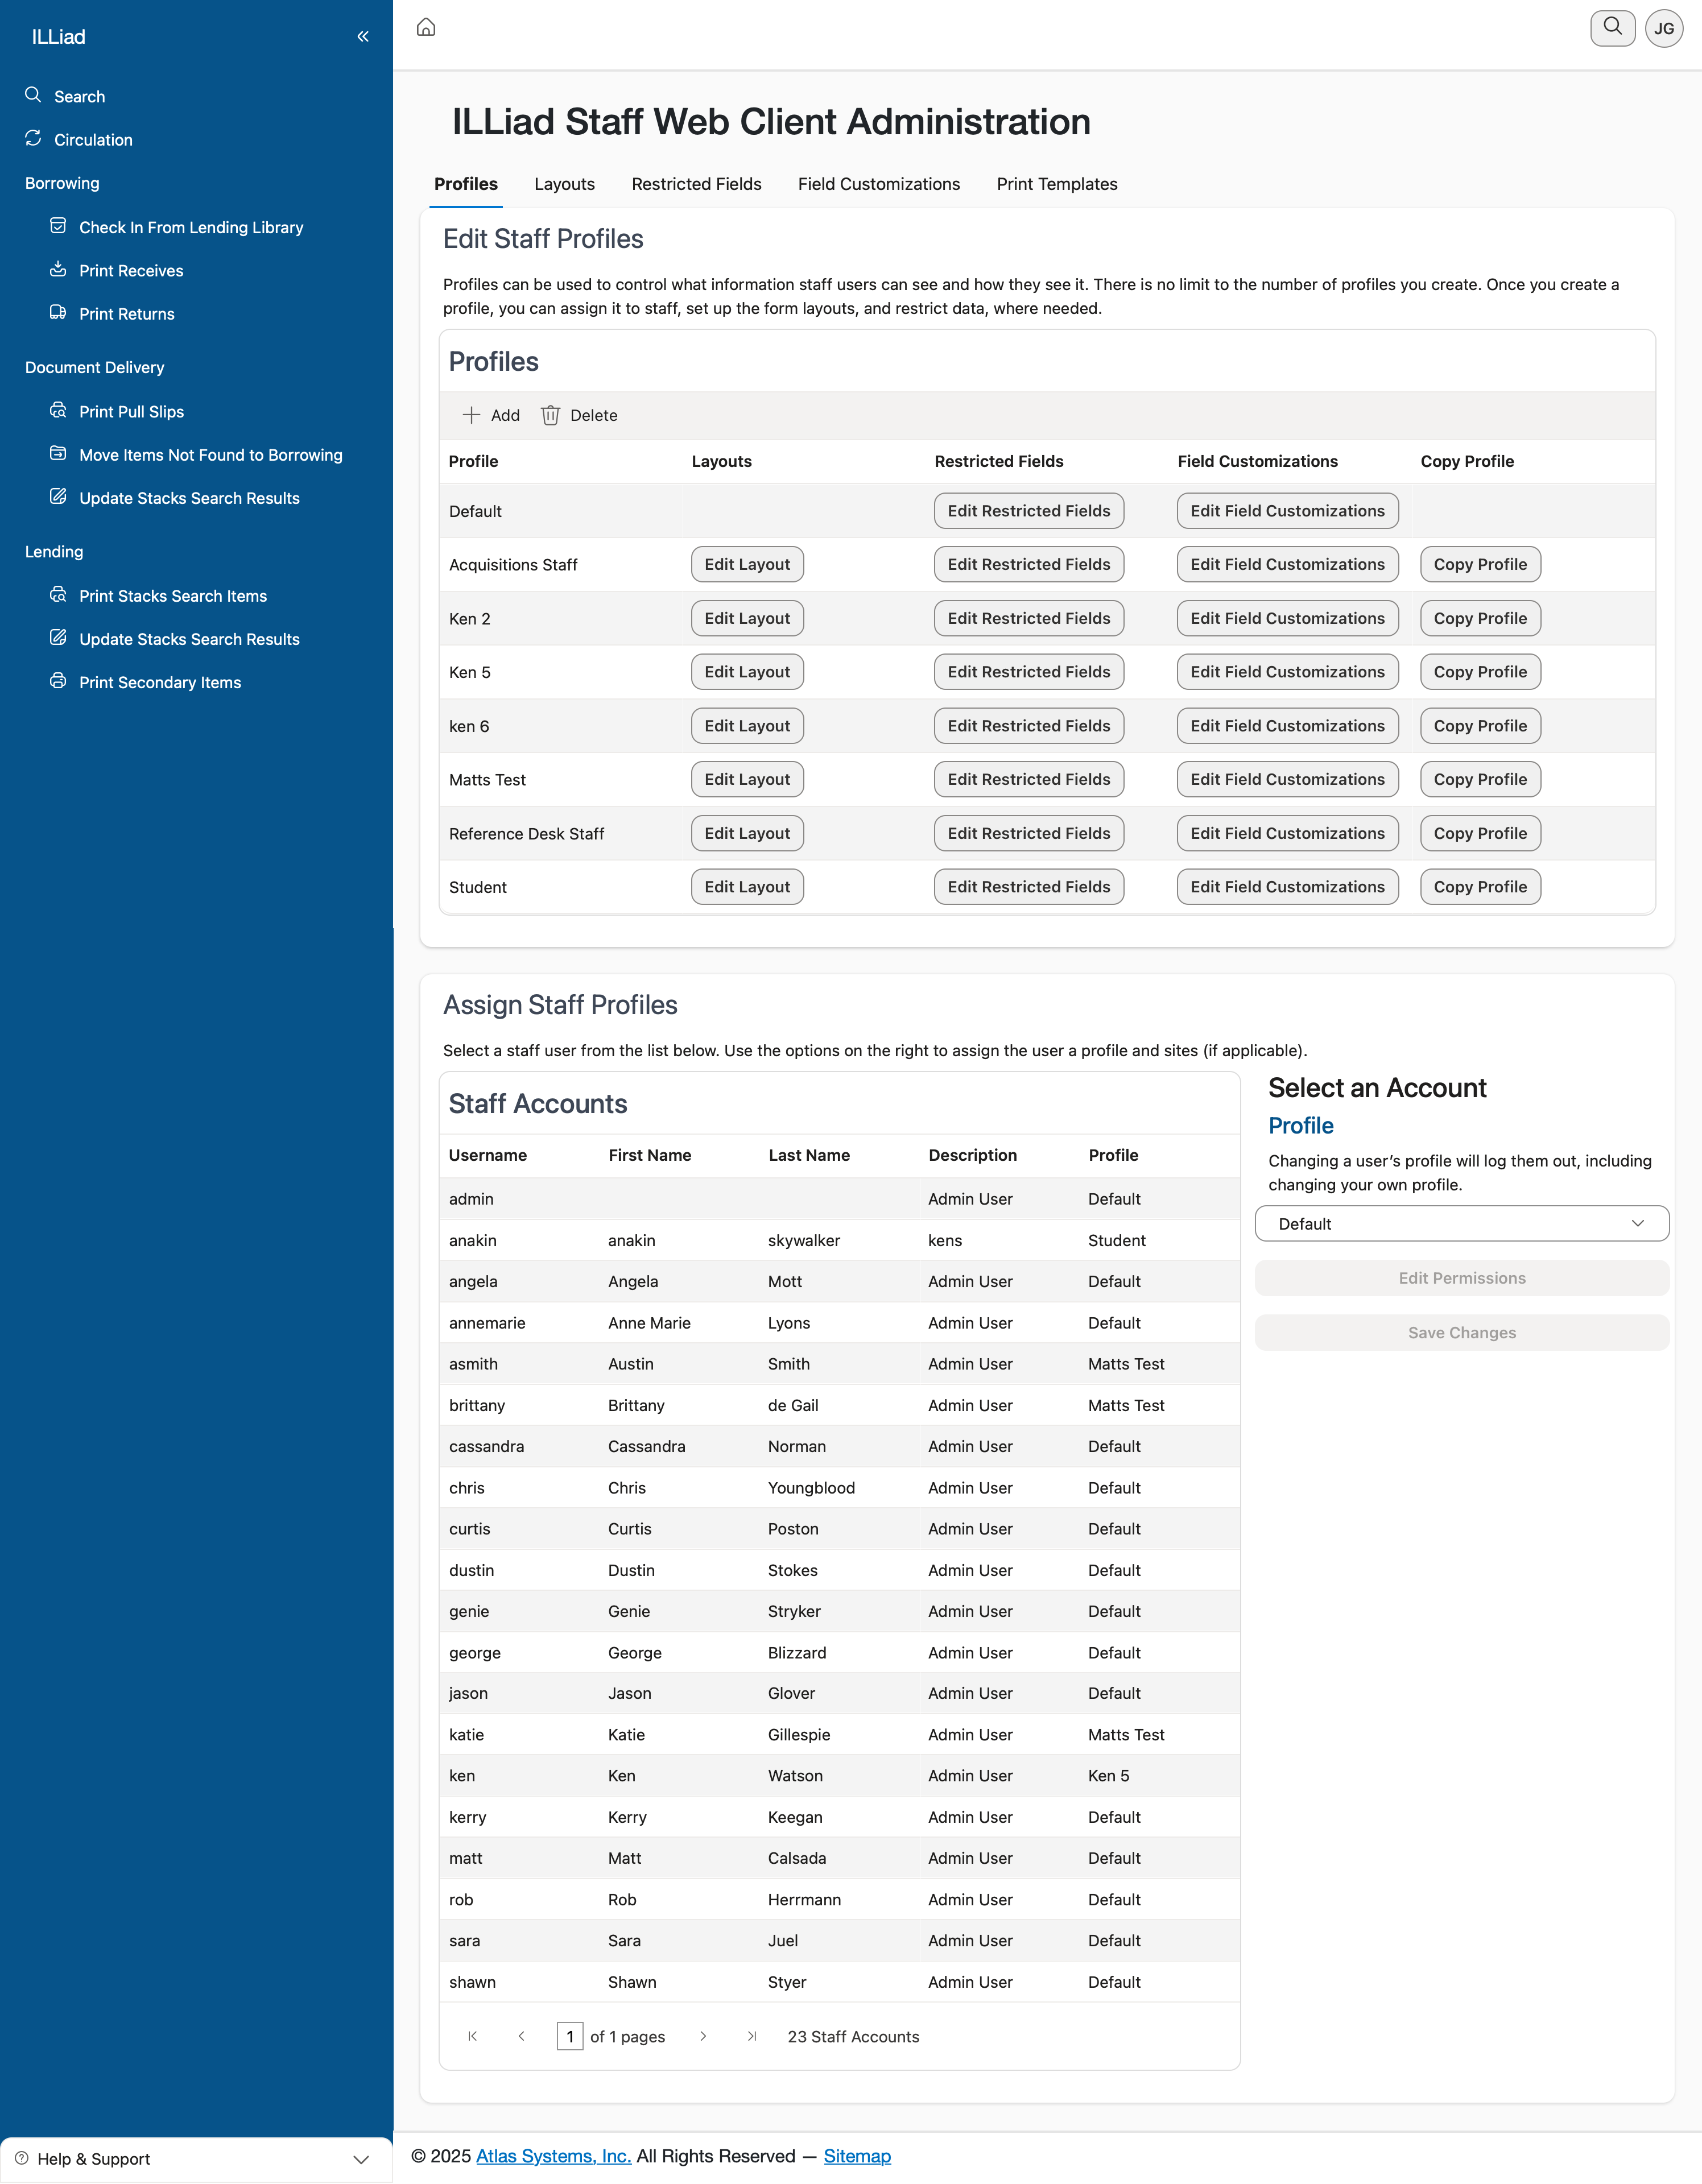
Every staff member in ILLiad needs to be assigned to a profile. When you first open this tab, you'll see the Default profile that comes with the system. This Default profile serves as the foundation - you can't edit or delete it, but you can copy settings from it to create new profiles tailored to specific roles in your library.
The main grid shows all available profiles in your system. For each profile, you'll see several action buttons that let you manage layouts, restricted fields, and copy profile settings. These buttons are your gateway to customizing how different staff members experience the ILLiad interface.
Creating New Profiles
To create a new profile, click the Add button in the toolbar. You'll need to give your profile a unique name that makes sense for your organization - something like "Student Workers" or "Circulation Staff" works well. Once created, the profile appears in the grid and you can start customizing it.
When setting up a profile, consider the specific needs of the staff members who will use it. For example, student workers might need a simplified view with access to basic borrowing functions, while supervisors need full access to all features and reports.
Working with Profile Settings
Each profile (except Default) has three main customization options:
Edit Layout takes you to the Layouts tab where you can customize which fields appear on various forms and how they're arranged. This is particularly useful when you want to simplify the interface for staff who only need to see certain information.
Edit Restricted Fields lets you control which fields staff members can view and edit. This is crucial for protecting sensitive patron information or preventing accidental changes to critical data fields.
Copy Profile is a time-saving feature that lets you duplicate all settings from one profile to another. This is especially helpful when you're creating similar profiles with just a few differences - start with a copy and then make your adjustments.
Assigning Staff to Profiles
Once you've created and configured your profiles, you'll assign them to staff members in the main Staff Accounts section below the profiles grid. Each staff member can only belong to one profile at a time, so choose the one that best matches their role and responsibilities.
The system automatically applies the profile settings when a staff member logs in, ensuring they see the appropriate interface and have the correct permissions for their work.
Best Practices
Start by planning your profiles based on the different roles in your library. Common profiles might include:
- Circulation Desk Staff (basic borrowing and returns)
- Document Delivery Staff (scanning and electronic delivery)
- Interlibrary Loan Specialists (full borrowing and lending capabilities)
- Supervisors (all features plus administrative functions)
- Student Workers (limited, task-specific access)
Remember that you can always adjust profiles as needs change. It's often better to start with more restrictive settings and add permissions as needed rather than giving too much access initially.
When you make changes to a profile, those changes take effect the next time affected staff members log in. There's no need to restart the system or notify users - the updates happen automatically.
Deleting Profiles
If you need to remove a profile, select it in the grid and click the Delete button. The system will only let you delete a profile if no staff members are currently assigned to it. If staff are using the profile, you'll need to reassign them to different profiles first.
Always double-check before deleting a profile, as this action removes all the customized layouts and field restrictions associated with that profile.