Processing Borrowing Requests
When you're working with borrowing requests in the Staff Web Client, you'll be managing patron requests from the moment they're submitted until they're completed. Let's walk through how this process works and explore the tools at your disposal.
How Request Queues Work
Think of queues as organized waiting areas where requests sit based on what needs to happen next. Each queue has a specific purpose, and requests flow between them as you process them.
Your Main Processing Queues
The Awaiting Request Processing queue is where you'll find all new loan requests that need attention. This includes fresh patron submissions, requests that have been resubmitted, and any imported requests waiting for review. Article requests start their journey in the Awaiting Copyright Clearance queue before moving to request processing.
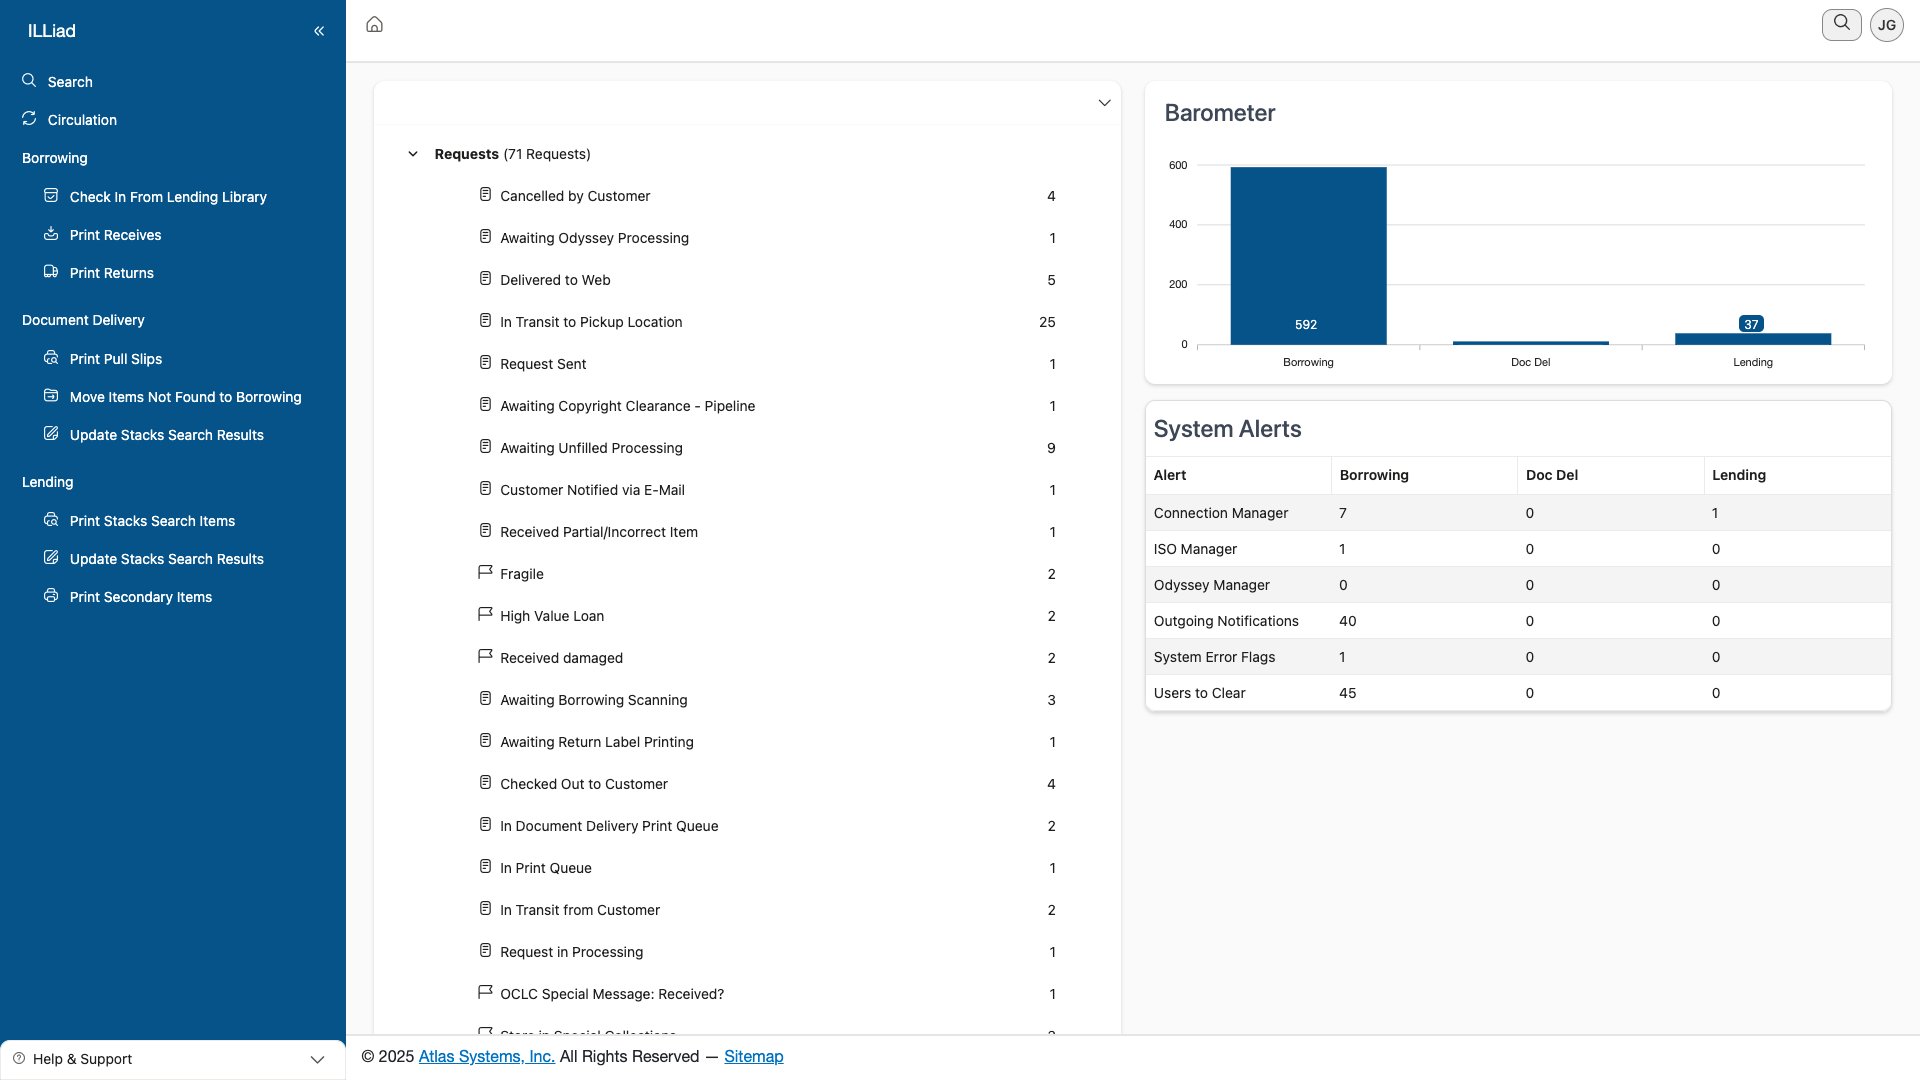 The Awaiting Request Processing queue showing pending requests
When a request can't be filled by your current supplier, it moves to Awaiting Unfilled Processing. These are the requests where you'll need to find alternative suppliers, contact the patron for clarification, or possibly cancel if no options remain.
Once items are marked as shipped by the lending library, they'll appear in Awaiting Post Receipt Processing, ready for you to physically receive them when they arrive.
To prevent multiple staff members from accidentally working on the same request, the system automatically moves requests to a "Request In Processing" status when someone opens them from a processing queue. This keeps the request hidden from the queue list until processing is complete.
Navigating Your Request Lists
The request grid is your command center for managing multiple items efficiently. On desktop, you'll have access to sortable columns (just click the headers), resizable columns (drag the borders), and quick filters for any column. You can customize which columns appear using the column chooser, and your preferences are saved automatically.
When you're working on a mobile device or tablet, the interface adapts intelligently. The grid switches to a card view that shows essential information at a glance. You can tap to select items and use touch gestures for quick actions. Your column preferences are saved separately for each device type, so you can optimize your mobile view without affecting your desktop setup.
Set up your most-used columns and save different layouts for different workflows. The system remembers your preferences, making repetitive tasks much faster.
Working with Individual Requests
When you need to dive into the details of a specific request, you have a couple of options. You can click directly on the transaction number, or use the View button in the action column. Either way opens the request details in a modal dialog where you can see everything about that request.
Understanding Request Information
Each request contains several key sections of information. The patron information shows you who made the request, including their contact details, department, notification preferences, and current account standing. The item information covers what they're requesting - title, author, publication details, format, and any special instructions they've included.
You'll also see the request's current status, including which queue it's in, its processing history, any notes that have been added, and billing information if applicable. This gives you the complete picture of where the request stands and what's happened to it so far.
Making Changes to Requests
Need to update request details? Just click the Edit button to enter edit mode. You can modify the fields that are available (some fields become locked after submission for data integrity), then save your changes. The system automatically logs who made modifications and when, maintaining a clear audit trail.
Some fields can't be edited after a patron submits their request. These will appear as read-only to preserve the original request information.
Your Processing Toolkit
Moving Requests Between Queues
Routing is how you move requests to the appropriate queue for the next step in processing. For individual requests, click the Route button, choose where you want to send it, optionally add a note explaining why, and confirm.
When you need to move multiple requests at once, the batch routing feature is your friend. Select all the requests you want to move (using checkboxes), choose Batch Actions → Route from the menu, pick your destination queue, and process them all in one go. This is particularly handy when clearing out completed requests or moving a group to a specific processor.
Keeping Track with Notes
Good documentation makes everyone's job easier. When you add a note to a request, you can choose between a staff note (only visible internally), a patron note (the patron will see this), or let the system add automated notes for certain actions.
To add a note, click the Add Note button, select your note type, write your message, and save. Pro tip: Create templates for common situations. If you find yourself typing "Recalled by owning library" repeatedly, save it as a template for quick reuse.
Using Flags Effectively
Flags are visual indicators that help you and your colleagues quickly identify special handling requirements. A Rush flag tells everyone this needs expedited processing. Faculty flags might indicate priority handling for professors. Reserve flags mark course materials that need special routing. Problem flags alert staff to issues that need resolution, while Copyright flags indicate materials requiring rights review.
When You Need to Cancel
Sometimes cancellation is unavoidable. When you click Cancel Request, you'll need to select a reason - whether the item wasn't found, exceeds cost limits, the patron cancelled, it's a duplicate, or another reason you'll specify. You can then choose whether to notify the patron automatically or handle the communication separately. The system tracks all cancellations for reporting purposes.
Handling Special Situations
Electronic Delivery with Odyssey
If your institution uses Odyssey for article delivery, you'll see the Awaiting Odyssey Processing queue. This is where electronic delivery requests gather when they're ready for scanning or transmission. These requests have already cleared copyright verification and are waiting for digital fulfillment.
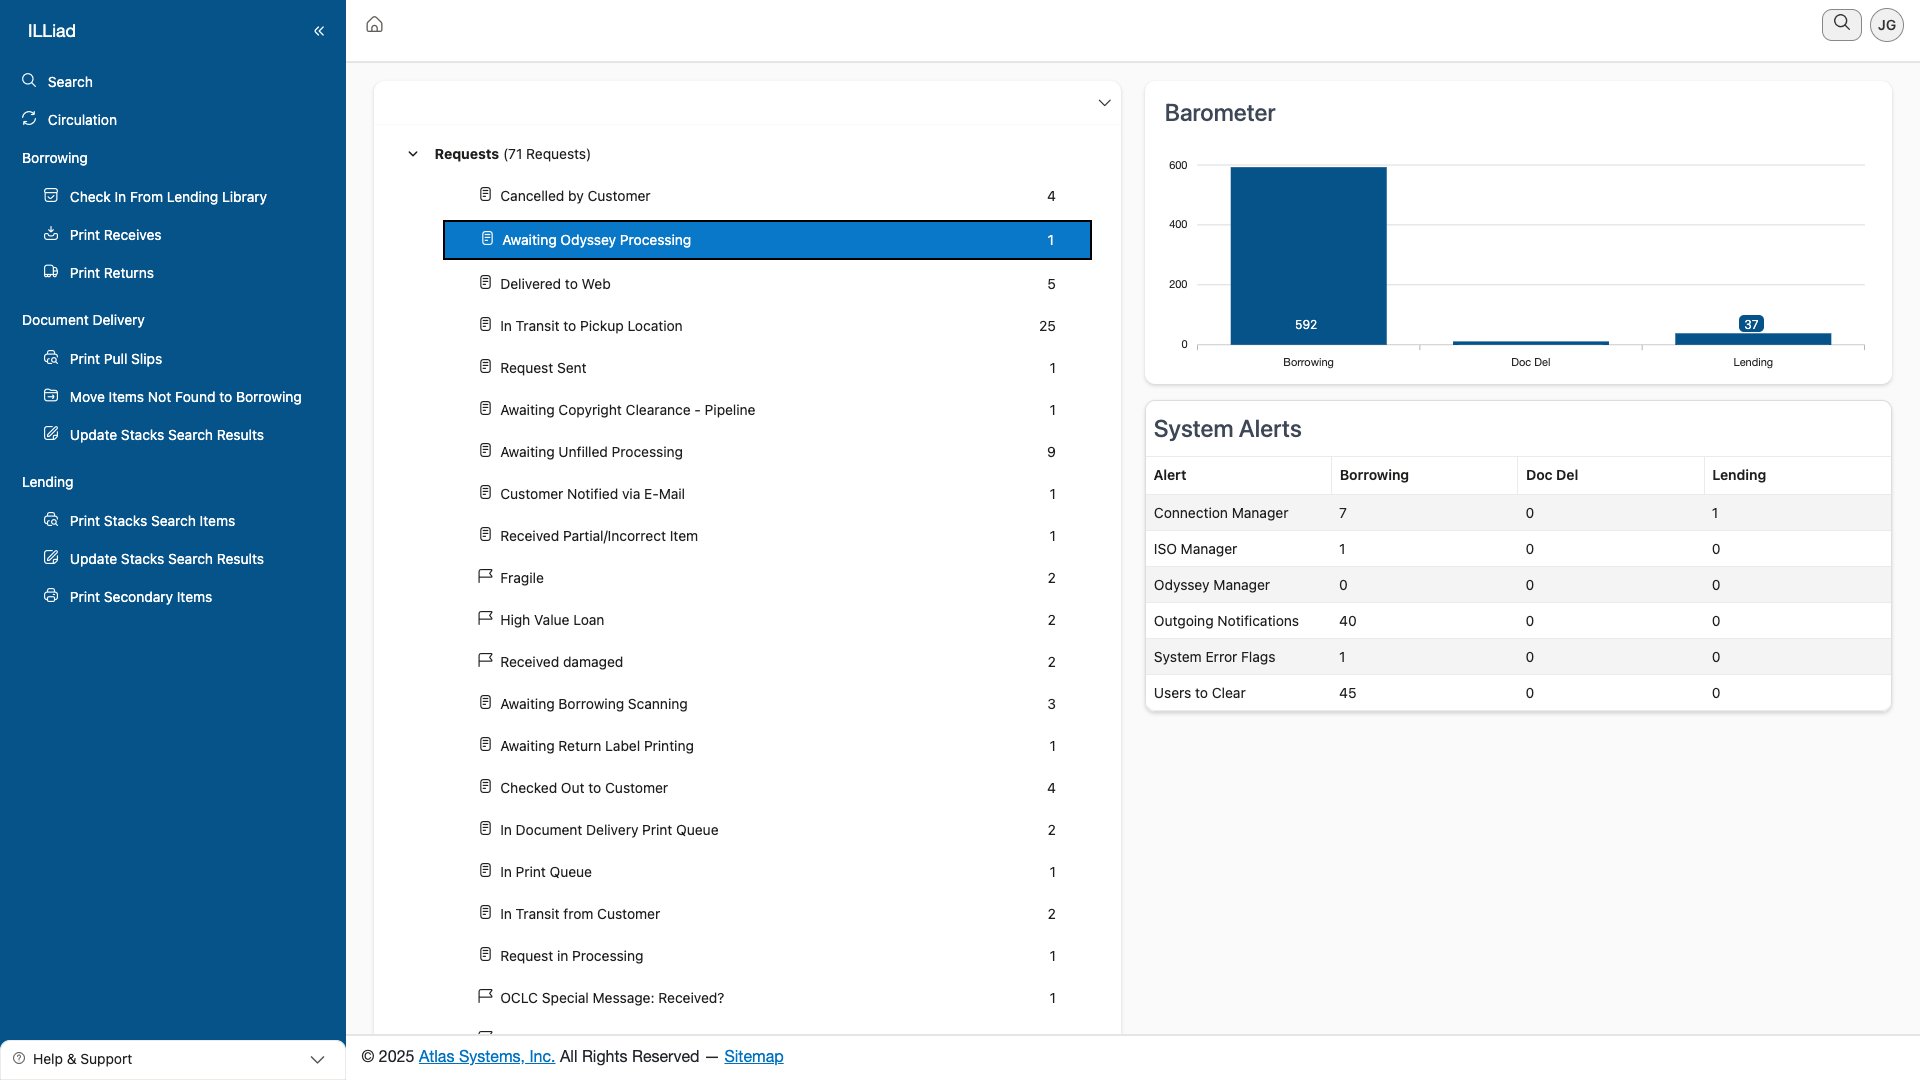 The Awaiting Odyssey Processing queue for electronic delivery requests
Working with Conditional Requests
Sometimes lenders attach conditions to their loans - maybe they'll only lend for in-library use, or they require special handling. When you encounter these, review the conditions carefully. If they're acceptable and you can meet them, acknowledge the conditions and proceed. If not, it's better to try the next potential lender than to accept conditions you can't fulfill. Always document your decision in the request notes so there's a clear record.
Managing Costs and Fees
When a request involves fees, you'll need to check it against your institution's cost limits. If it exceeds standard limits, you might need supervisor approval before proceeding. Once approved, document the approval in the notes, add the charge to patron billing if your policies require it, and route the request to continue processing.
You'll need billing permissions to add charges to patron accounts. If you don't have these permissions but need them for your role, reach out to your Staff Manager.
Finding Alternative Editions
The exact edition a patron requested isn't always available, but often an alternative will work just fine. When this happens, search for other editions or formats, check if the patron indicated they'd accept alternatives in their request preferences, and contact them if you're unsure whether a substitute would meet their needs. Once confirmed, update the request details to reflect what you're actually requesting and continue processing.
Making Batch Processing Work for You
Selecting Multiple Requests
When you need to process several requests at once, the selection tools adapt to how you're working. On desktop, you can click individual checkboxes, hold Shift and click to select a range, or use Ctrl-click (Cmd-click on Mac) to pick specific items. There's also a Select All option when you need everything in the current view.
On mobile devices, the interface is touch-friendly. Tap items to select them, long-press for additional options, and use the Select All button when needed. Clear your selection easily when you're done.
Batch Operations That Save Time
Once you've selected multiple requests, you can perform several operations on all of them at once. Print labels or pull slips for the whole batch, route them all to the same queue, update their status in bulk, export the data for reporting, or send notifications to multiple patrons. These batch operations can turn an hour of repetitive clicking into a two-minute task.
Group similar items before batch processing. For example, select all requests going to the same pickup location before printing labels. This keeps your physical workflow organized too.
Finding What You Need Fast
Quick Search Magic
The search box at the top of your request list is surprisingly powerful. Type in a transaction number to jump straight to a specific request. Paste in an ISBN or ISSN to find all requests for that item. Start typing a patron's name to see all their requests. Enter part of a title to find matching items. Or scan a barcode to locate its associated request.
Power Filtering
When you need more precision, click the filter icon in any column header. You can filter by contains (partial matches), equals (exact matches), greater/less than (for numbers and dates), or date ranges. Layer multiple filters to narrow down exactly what you're looking for.
For example, you might filter for all Rush requests (flag column) from the past week (date column) in the Awaiting Request Processing queue. The filters work together to show only what matches all your criteria.
Save Time with Filter Templates
Find yourself running the same searches repeatedly? Set up your filter combination once, then click Save Filter and give it a memorable name. Next time you need that same view, just select it from your saved filters menu. Common saved filters might include "Today's Rush Requests," "Requests Over $50," or "Items Awaiting Pickup > 3 days."
Working on the Go
Mobile-Optimized Tasks
While you can do everything on mobile that you can on desktop, some tasks are particularly well-suited to mobile processing. Status updates are quick with tap interactions. Routing requests between queues works smoothly with the mobile interface. Adding notes is easy with your device's keyboard. The camera integration makes barcode scanning a breeze. And simple edits can be done efficiently without needing a full desktop setup.
Touch Gestures That Speed Things Up
The mobile interface supports intuitive gestures that make processing faster. While the current system primarily uses tap and long-press interactions, the interface is optimized for touch throughout. The responsive design ensures buttons and links are appropriately sized for finger taps, and the card-based layout makes it easy to review request information at a glance.
Working Without a Connection
The system includes smart caching that helps when your connection is spotty. Recently viewed requests remain accessible, and some actions can be queued for processing when you're back online. Notes you write are saved locally until they can sync. However, always verify that critical updates have synced properly when your connection is restored - you'll see a confirmation when queued actions complete successfully.
The system will alert you if you're working offline. Pay attention to these notifications to ensure your work is saved properly.
Tracking Your Performance
Understanding Queue Metrics
The system tracks useful metrics that help you and your supervisors understand workflow patterns. You can see how many items were processed today, track average processing times, monitor queue depths to identify bottlenecks, and spot trending patterns that might indicate seasonal rushes or systematic issues.
Personal Productivity Insights
Your individual metrics help you understand your own work patterns. Track how many requests you handle, monitor your processing speed over time, keep an eye on error rates to identify areas for improvement, and discover your peak productivity times. This information isn't about surveillance - it's about helping you work more effectively and demonstrating the value of your contributions.
Best Practices for Efficient Processing
Working Smarter, Not Harder
The most efficient processors have developed smart habits. They process similar items in batches rather than jumping between different types of requests. They've learned the keyboard shortcuts for common actions (like Ctrl+S to save). They've created note templates for situations they encounter regularly. They've customized their default view to show the information they need most. And they've saved searches for their common filtering needs.
Maintaining Quality
Speed is important, but accuracy is critical. Always verify patron information before processing - a wrong email address means they won't get notifications. Check for duplicate requests to avoid ordering the same item twice. Review any special instructions the patron included - they might have specific edition requirements or delivery preferences. Double-check your routing destinations before sending requests along. And document your decisions in the notes, especially when you deviate from standard procedures.
Effective Communication
Good communication keeps the whole ILL operation running smoothly. Keep your notes concise but complete - future you (or a colleague) should understand what happened and why. Use standard terminology that everyone understands. Flag items that need supervisor review rather than making decisions outside your authority. Update patrons promptly when there are delays or issues. And always document any problems with lenders for future reference.
Troubleshooting Common Issues
When a request seems stuck in a queue, first check if it's missing required information. Verify you have the right permissions to process items in that queue. Look for system notes that might explain what's happening. If you're still stuck, reach out to your supervisor - they can often see things you can't.
If you can't edit certain fields, it might be a permissions issue, or the request might be in a status that locks those fields. Some fields are protected by design to maintain data integrity. If you're sure you should be able to edit something but can't, try a different browser - occasionally browser extensions can interfere.
When batch actions fail, try reducing the batch size - sometimes system limits prevent processing too many items at once. Check if any items in your selection are locked by another user. Make sure all selected items are compatible with your intended action. If all else fails, process them individually to identify which one is causing the problem.
Keep Learning
Ready to expand your skills? Check out these related guides:
- Managing Returns - Learn the ins and outs of processing items going back to lenders
- Billing Integration - Master the billing features for requests with fees
- Search Functionality - Discover advanced search techniques for power users
| Previous | Current | Next |
|---|---|---|
| Checking In Items | Processing Requests | Managing Returns |