Managing Borrowing Returns
Returns might not be the most exciting part of interlibrary loan, but they're absolutely essential. Getting items back to lenders on time and in good condition keeps those lending relationships strong – and that means better service for your patrons. Let's walk through how to handle returns efficiently in the Staff Web Client.
How Returns Work in Your Workflow
When Items Need to Go Back
Items find their way into your return workflow from several directions, and each one needs slightly different handling.
The most common scenario is the regular due date return – a patron brings back a book they've finished with, and it's time to send it home. Sometimes you'll get recalls where the lender needs their item back early (usually for their own patron). Denied renewals also trigger returns – when you ask for more time but the lender says no, that item needs to head back. And then there are the special cases: damaged items, lost materials, or items that arrived incorrect in the first place.
Your Main Return Queue
Everything that needs to go back ends up in one primary queue: Awaiting Return Label Printing. Think of this as your shipping department's to-do list. Items sit here after they've been checked in from patrons, waiting for you to print labels and send them on their way.
Check your return queue at least once a day – preferably at a consistent time. Late returns are one of the fastest ways to damage your lending relationships. Some libraries have even had their borrowing privileges suspended for chronic late returns. Don't let that happen to you!
Getting to Your Returns
Finding the Returns Interface
The most direct path is through the Borrowing menu. Click Borrowing in your sidebar, then select Borrowing Returns. This takes you straight to your return queue.
If you're working circulation, items naturally flow into returns when you check them in from patrons. The system knows these borrowed items need to go back and automatically routes them to the return queue.
You can also search for specific items if you need to process a return outside the normal workflow. Maybe a patron calls saying they returned something, but it's not showing up where expected.
Processing Returns One at a Time
Let's walk through returning a single item – the process you'll use most often.
Step 1: Make Sure You Have Everything
Before you even touch the computer, check the physical item. Is it the same item you received? Are all pieces accounted for? Multi-volume sets are notorious for coming back incomplete. Flip through quickly to remove any patron bookmarks, sticky notes, or (heaven forbid) sandwich remnants. You'd be amazed what people leave in books.
Step 2: Find It in the System
Navigate to your Awaiting Return Label Printing queue. Locate the item – you can sort by due date, title, or lender to make this easier. Click on the item to view its full details.
Step 3: Double-Check the Details
Before printing anything, verify the return information. Is the lender's address still correct? Libraries move or change their ILL departments more often than you'd think. Check for any special instructions – maybe this lender wants email notification when you ship, or requires a specific shipping method. Make sure you're not about to ship an overdue item without noting it.
Step 4: Print Your Label
Click Print Label and select the right template for your needs. Most libraries have templates for address labels, book bands, or full packing slips. Always preview before printing – label sheets are expensive, and reprinting wastes time. Once printed, apply the label clearly to your package.
Step 5: Mark It Shipped
This is crucial: update the item's status to Shipped to Lender. If you're using a trackable shipping method (recommended for valuable items), add the tracking number now. Record today's date as the ship date. This documentation protects you if questions arise later.
Found a coffee stain on page 47? Missing dust jacket? Broken case? Document everything before you ship. Take photos with your phone and upload them to the request notes. This simple step can save you from paying for damage you didn't cause.
Batch Processing for Efficiency
When Monday morning brings a cart full of returns, batch processing is your friend.
Setting Up Your Batch
Start by physically sorting your returns by lending library. There's nothing worse than realizing halfway through that you've mixed two libraries' items in the same package.
In the system, filter your return queue to show just one lender's items. Select all items going to that library – the system shows checkboxes for batch selection. Always verify your count: if you have five physical books for Harvard, make sure you've selected exactly five Harvard items in the system.
Printing Labels in Batches
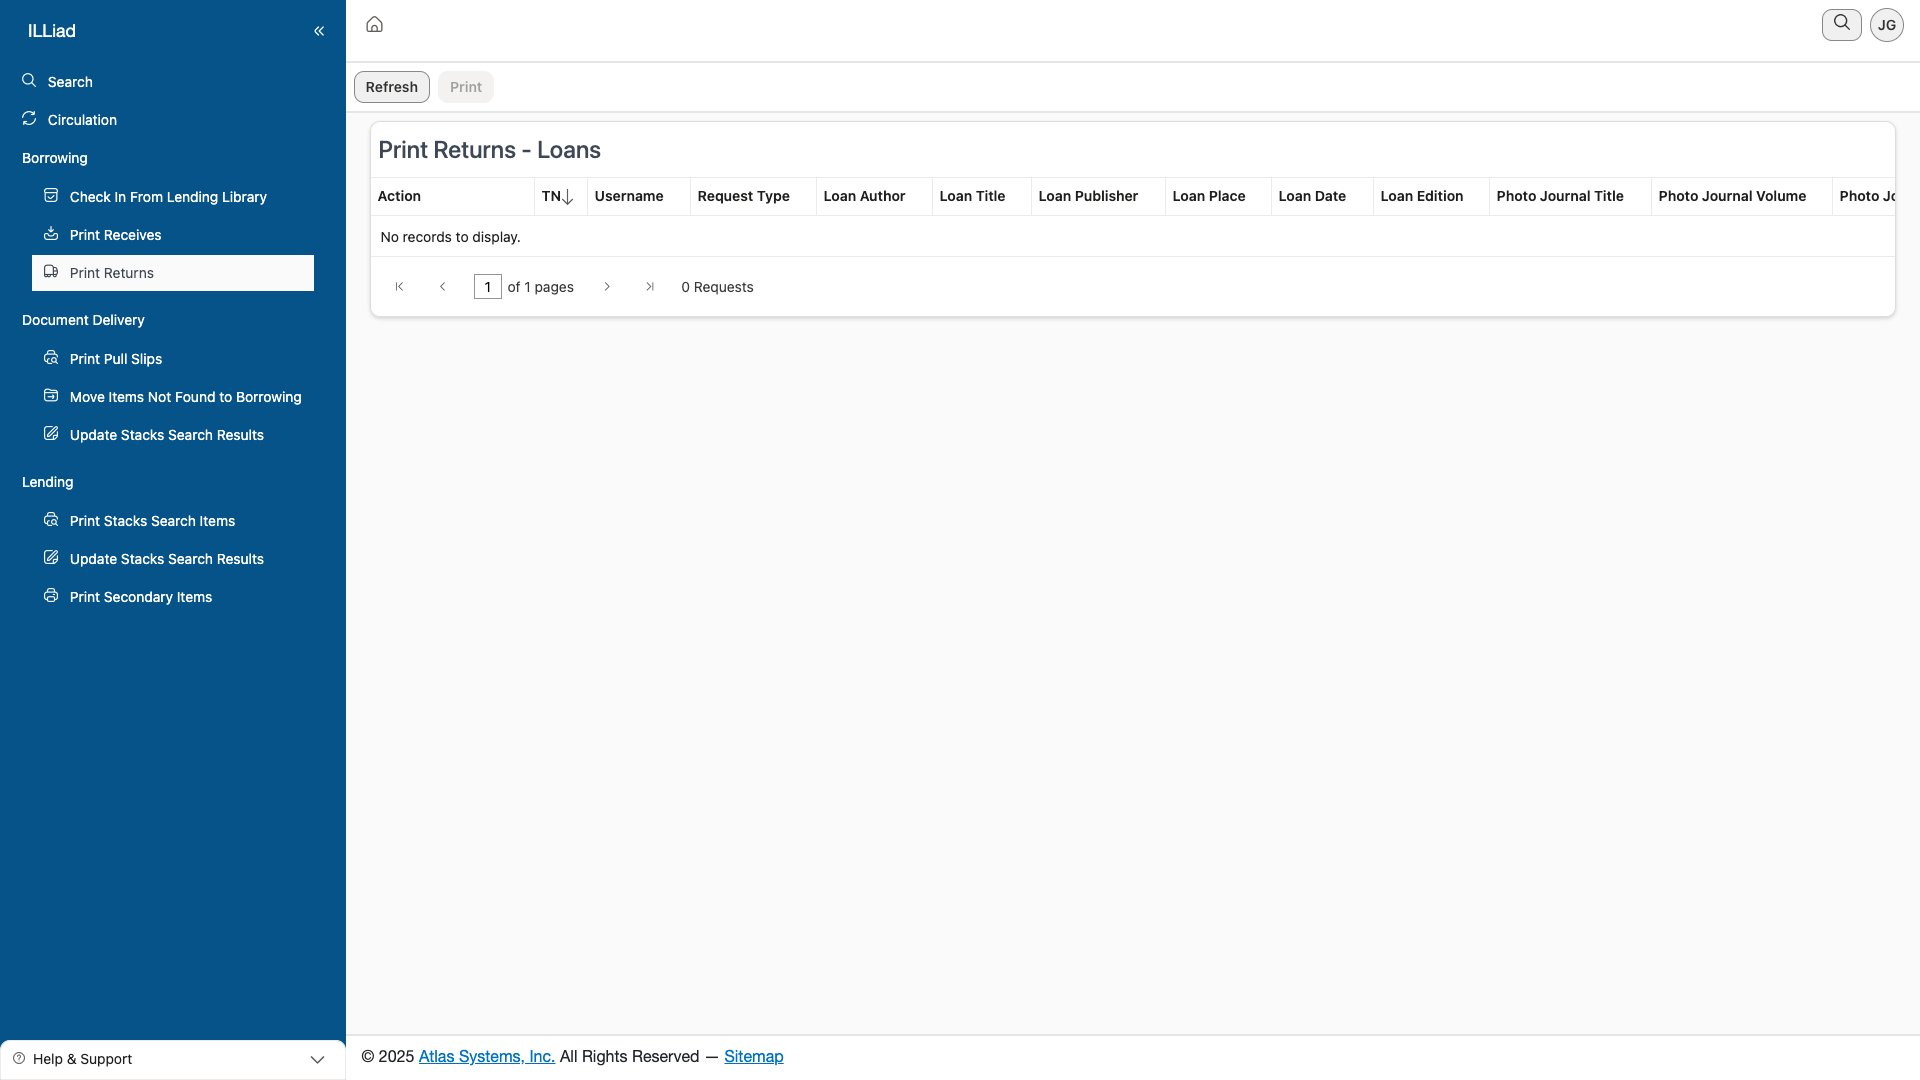 The print returns interface showing items ready for return label printing
Choose Batch Actions → Print Return Labels. You can print individual labels for each item or merged labels for packages with multiple items. The system knows which items you've selected and generates all labels at once.
Packaging Your Batch
With labels in hand, package items appropriately. Use padded envelopes for single paperbacks, boxes for multiple items or fragile materials. Make sure labels are visible and secure. Include any required paperwork inside the package.
Updating Everything at Once
Select all the items you just packaged and choose batch update to Shipped. If you're using the same tracking number for multiple items to one library (common with delivery services), you can add it to all items at once.
Set up a tablet at your packaging area for the smoothest workflow. Use landscape mode for easier batch selection – those checkboxes are easier to tap when they're spread out.
Handling Special Situations
When Lenders Recall Items
Recalls always mean urgency. When you see that "RECALLED" flag, spring into action.
First, check if the item is still with your patron. If so, contact them immediately – email and phone if necessary. Set a firm deadline for return, explaining that another library urgently needs their item back. Most patrons understand when you explain the situation.
Once you have the item, process it for express return. This might mean upgrading from your usual delivery service to UPS or FedEx. Yes, it costs more, but maintaining good lending relationships is worth it. Document that you complied with the recall promptly.
Dealing with Damaged Items
Discovering damage is never fun, but handling it professionally makes all the difference.
Start by documenting everything. Take clear photos from multiple angles. Write a detailed description: "Water damage to pages 45-72, text still readable but pages wrinkled." Note when you discovered the damage and whether it was present at check-in (check those notes you hopefully made!).
Before shipping anything back, contact the lender. Email them your documentation and ask how they'd like to proceed. Some libraries want the damaged item returned for their own assessment. Others might tell you to discard it and just send payment. Get their instructions in writing.
When you do ship a damaged item back, pack it extra carefully and include printed documentation of the damage and your correspondence about it.
Many borrowing agreements make you financially responsible for items while they're in your possession. That water damage from a patron's backpack? You might be paying for it. Handle borrowed items like they're made of gold – because financially, they might as well be.
When Items Go Missing
Lost items require detective work and diplomacy.
Start with a thorough search. Check the stacks, the hold shelf, behind the circulation desk, the book drop, anywhere the item might have wandered. Review the circulation history – who last had it? When? Contact that patron and ask them to check their home, car, and office.
If the item truly can't be found, notify the lender immediately. Don't wait hoping it will turn up. Explain the steps you've taken to find it. Most lenders appreciate transparency and will work with you on replacement options.
Update the system to show the item as Lost, add detailed notes about your search efforts, and process any billing according to the lender's instructions.
Shipping Methods and Materials
Choosing Your Shipping Method
Most libraries use a mix of shipping options. Your library delivery service (if you have one) is usually the most economical for regular returns. USPS Library Rate works well for single items. UPS or FedEx Ground handle packages nicely. Save express shipping for recalls and time-sensitive materials.
Packaging Like a Pro
Good packaging prevents damage claims. Use padded envelopes for paperbacks and thin items. Box anything fragile or valuable. Wrap items in plastic if there's any chance of water exposure. Make your address labels clear and moisture-resistant. Always include a packing slip inside the package – if the external label gets damaged, the lender can still identify where it came from.
Return shipping is almost always the borrowing library's expense. Build this into your ILL budget. Track your costs by month to spot trends and budget accurately.
Using Print Templates
Built-In Template Options
The Staff Web Client comes with several template types. Address labels work with standard label sheets. Packing slips provide full documentation to include with shipments. Book bands wrap around items for libraries that prefer this method. Shipping forms help with insurance or customs documentation for international loans.
Making Templates Work for You
Good templates include key information: your library's return address (make sure it's current!), the transaction number for easy identification, the lender's complete address, any special handling notes, and space for tracking numbers. Customize templates to match your workflow and shipping preferences.
Mobile Returns Processing
The web client's mobile features shine for returns processing.
What Works Great on the Go
Tablets excel at scanning items into the return queue – much easier than wheeling a cart to a desktop computer. Status updates are quick with touch interfaces. The camera integration lets you document condition issues instantly. You can even print to network printers from mobile devices.
Touch Interface Advantages
Swipe gestures make processing multiple items smooth. Tap an item, swipe to mark it ready for return, move to the next. The camera integration means you can photograph damage right at the moment you discover it. Some courier services even let you capture signatures on pickup using the tablet.
Mount a tablet at your shipping station for hands-free operation. You can scan, update, and print labels while keeping both hands free for packaging. It's a game-changer for efficiency.
Tracking and Following Up
Recording the Right Information
Good documentation prevents problems. Always record when you shipped items, the tracking number (even "see delivery log" for courier services), which shipping method you used, when the lender should expect delivery, and any special circumstances.
Closing the Loop
When you have tracking, monitor it. Set a reminder to check that items were delivered successfully. Save delivery confirmations in the request notes. Once confirmed delivered, you can close the transaction with confidence.
Measuring Your Performance
Numbers That Matter
Track your return metrics to spot problems before they become serious. Monitor your average return time – how long from patron return to shipping? Calculate your on-time return rate. Track damage and loss incidents. Watch shipping costs for budget planning. Pay attention to any lender complaints or compliments.
Regular Reports Help
Run monthly reports on overdue returns to catch problems. Check your pending shipments weekly. Analyze return costs by lender to spot expensive relationships. Look for damage trends that might indicate handling problems. Share positive statistics with administration to showcase your department's effectiveness.
Daily Best Practices
Morning Routine
Start each day by checking your return queue. Print all labels for items ready to ship. Prepare packages while you're fresh and focused. This prevents the 4:45 PM scramble when the courier arrives.
Throughout the Day
Process returns as they come in rather than letting them pile up. Update statuses immediately after shipping. Keep your packaging area stocked and organized.
End of Day Wrap-Up
Confirm all shipped items are marked in the system. Set aside any returns that need special handling tomorrow. Check for any rush returns that came in late.
Quality Habits
Double-check every address before printing – libraries do move. Verify all pieces are included, especially for multi-part items. Use tracking for anything valuable or hard to replace. Document anything unusual in the notes. Keep packaging supplies stocked so you're never caught short.
Building Good Relationships
Ship returns promptly – lenders notice and appreciate it. Communicate problems as soon as you discover them. Send a thank-you note to frequent lenders at year-end. Report any delivery issues so lenders know delays aren't your fault. Pack items professionally – sloppy packaging sends a bad message.
Solving Common Problems
Wrong Address Printing? The lender might have moved or updated their address. Check the lender directory for current information. When in doubt, call or email to confirm. Update the address in the system for next time.
Label Won't Print? First check the obvious – is the printer on and connected? Try using print preview to see if the problem is the template or the printer. Different browsers sometimes handle printing differently. Make sure you've selected the right template for your label type.
Can't Find an Item in the Queue? It might have already been processed – check the shipped items. Verify the item was properly checked in from the patron. Look in problem queues where it might have been routed. Search by transaction number to track it down.
What Comes Next?
Now that you've mastered returns, complete your borrowing knowledge with:
- Billing Integration – Understanding charges and payments
- Circulation – The patron side of borrowing
- Print Management – Advanced template customization
| Previous | Current | Next |
|---|---|---|
| Processing Requests | Managing Returns | Billing Integration |